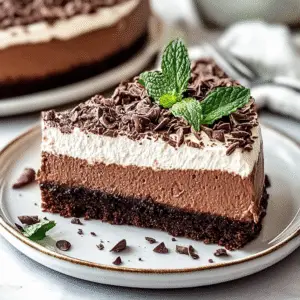
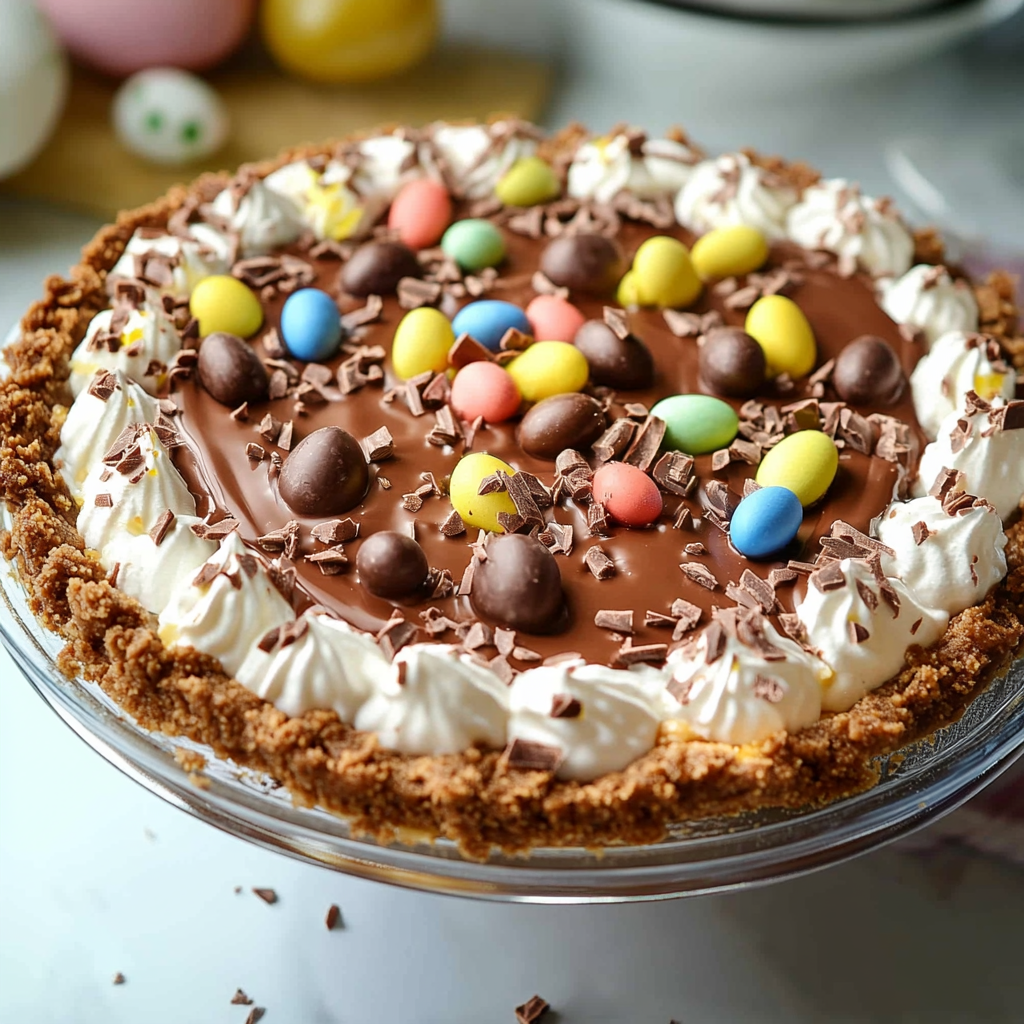
The first bite of this No-Bake Easter Chocolate Pie is like a sweet hug from the chocolate gods. Imagine a creamy, rich filling nestled in a crispy crust that practically melts in your mouth. The aroma wafts through your kitchen like a siren song, calling everyone to gather around and indulge.
Jump to:
- <strong>Essential Ingredients</strong>
- <strong>Let’s Make it together</strong>
- <strong>Perfecting the Cooking Process</strong>
- <strong>Add Your Touch</strong>
- <strong>Storing & Reheating</strong>
- <strong>FAQ</strong>
- What type of chocolate works best for this pie?
- Can I make this pie ahead of time?
- How do I prevent my pie from becoming too soft?
- 📖 Recipe Card
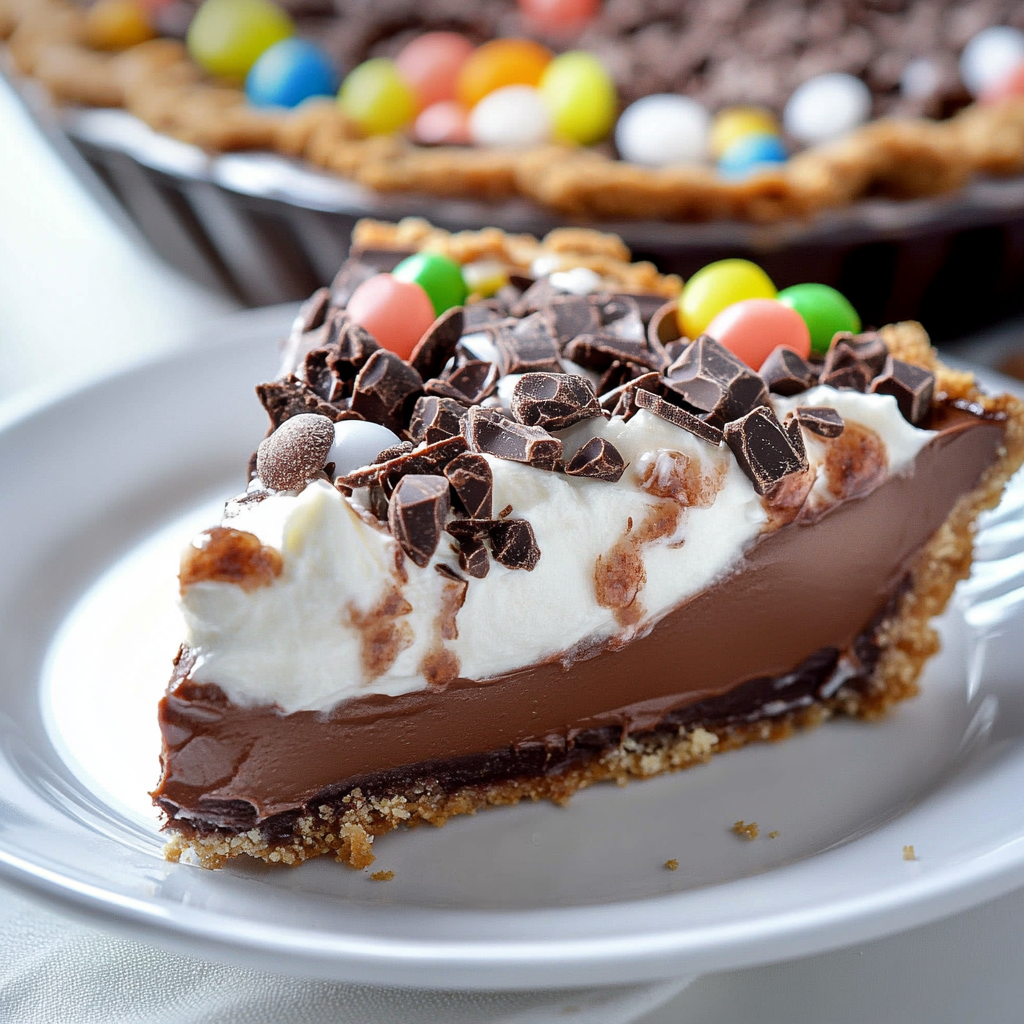
Remember those joyous Easters spent hunting for eggs while secretly plotting to devour as much chocolate as possible? This pie embodies that nostalgia perfectly. It’s easy to whip up and requires no baking—ideal for when you’re juggling too many tasks (like pretending to be an adult). Plus, it’s an absolute crowd-pleaser that will have your family singing your praises louder than a choir on Sunday morning.
Why You'll Love This Recipe
- This pie is incredibly simple to prepare, making it perfect for even the busiest bakers
- The flavor is rich and chocolatey, delighting every sweet tooth at the table
- Its stunning appearance brings a festive touch to any gathering or celebration
- You can easily customize toppings based on what you have handy or personal preferences
I once made this pie for an Easter brunch, and let me tell you—the room went silent as everyone took their first bite. It was as if I had revealed the secret to eternal happiness.
Essential Ingredients
Here’s what you’ll need to make this delicious dish:
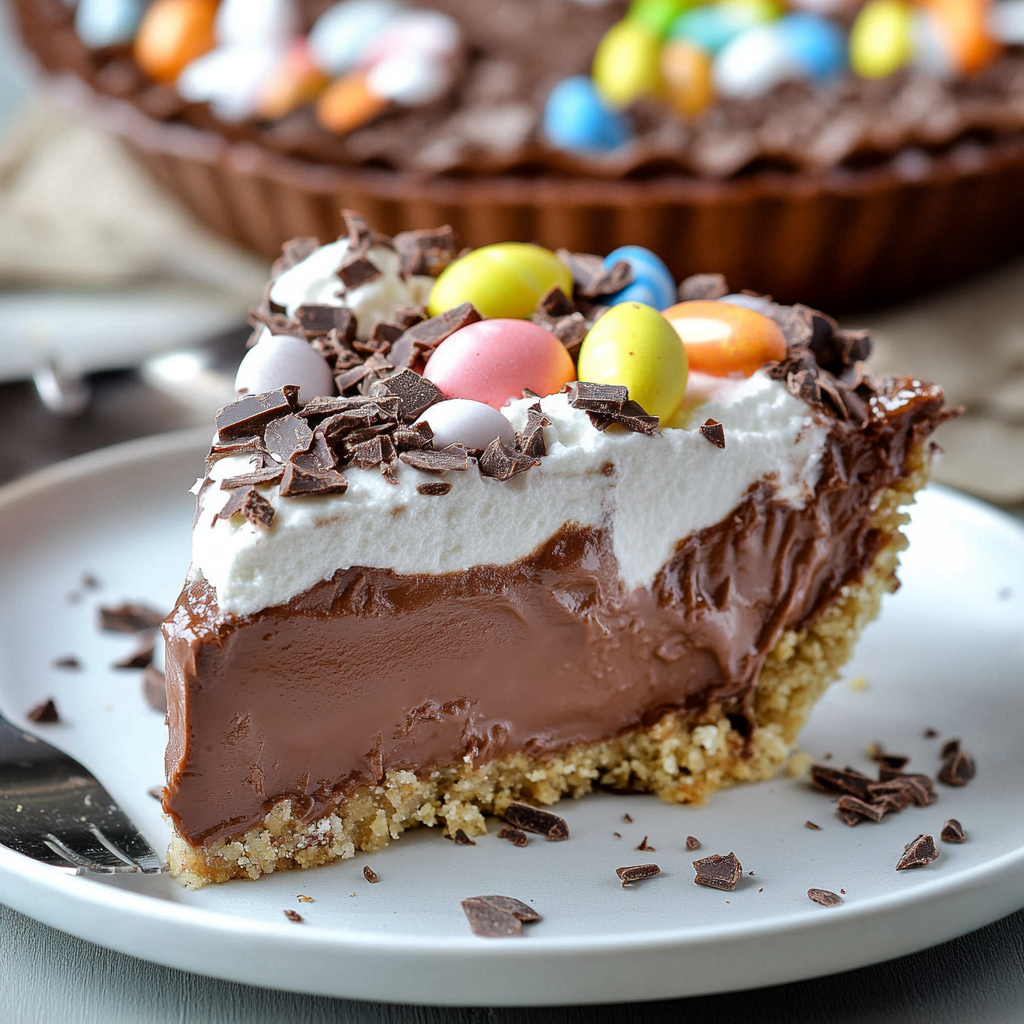
- Chocolate Cookie Crust: Store-bought or homemade, choose a crust that has a crunchy texture for contrast against the creamy filling.
- Cream Cheese: Use full-fat cream cheese for a rich and smooth filling; make sure it’s softened before mixing.
- Powdered Sugar: This sweetener adds just the right amount of sweetness without graininess; sift it before using for best results.
- Cocoa Powder: Use unsweetened cocoa powder for intense chocolate flavor; Dutch-processed can add richness if you prefer.
- Whipped Topping: Store-bought whipped topping makes this pie extra light and fluffy; feel free to use freshly whipped cream if you’re feeling fancy.
- Chocolate Shavings or Sprinkles: These are perfect for garnishing; they add visual appeal and extra chocolatey goodness on top.
The full ingredients list, including measurements, is provided in the recipe card directly below.
Let’s Make it together
Prepare Your Crust: Start by pressing the chocolate cookie crust into a pie dish evenly; you want it packed tightly so it holds its shape.
Create the Filling: In a large mixing bowl, combine softened cream cheese with powdered sugar and cocoa powder until smooth; this forms your silky filling.
Add Whipped Topping: Gently fold in the whipped topping until fully incorporated; keep some air in there for that fluffy texture we all love.
Fill the Crust: Pour the luscious filling into your prepared crust and spread it evenly with a spatula; make sure it’s nice and smooth on top.
Chill Until Set: Cover with plastic wrap and refrigerate for at least four hours or overnight; patience is key here—good things come to those who wait.
Add Final Touches Before Serving: Garnish with chocolate shavings or sprinkles right before serving; this adds flair and makes it look irresistible.
Enjoy every bite of this No-Bake Easter Chocolate Pie—you’ll find yourself savoring each mouthful like it’s a piece of heaven.
You Must Know
- This delightful No-Bake Easter Chocolate Pie is not just a dessert; it’s an experience
- The creamy texture and rich chocolate flavor create a heavenly treat that can easily impress guests or satisfy late-night cravings
- Plus, it’s a breeze to whip up in no time
Perfecting the Cooking Process
Start by melting the chocolate while preparing the crust to save time. Ensure the pie filling cools completely before pouring it into the crust for best results.
Add Your Touch
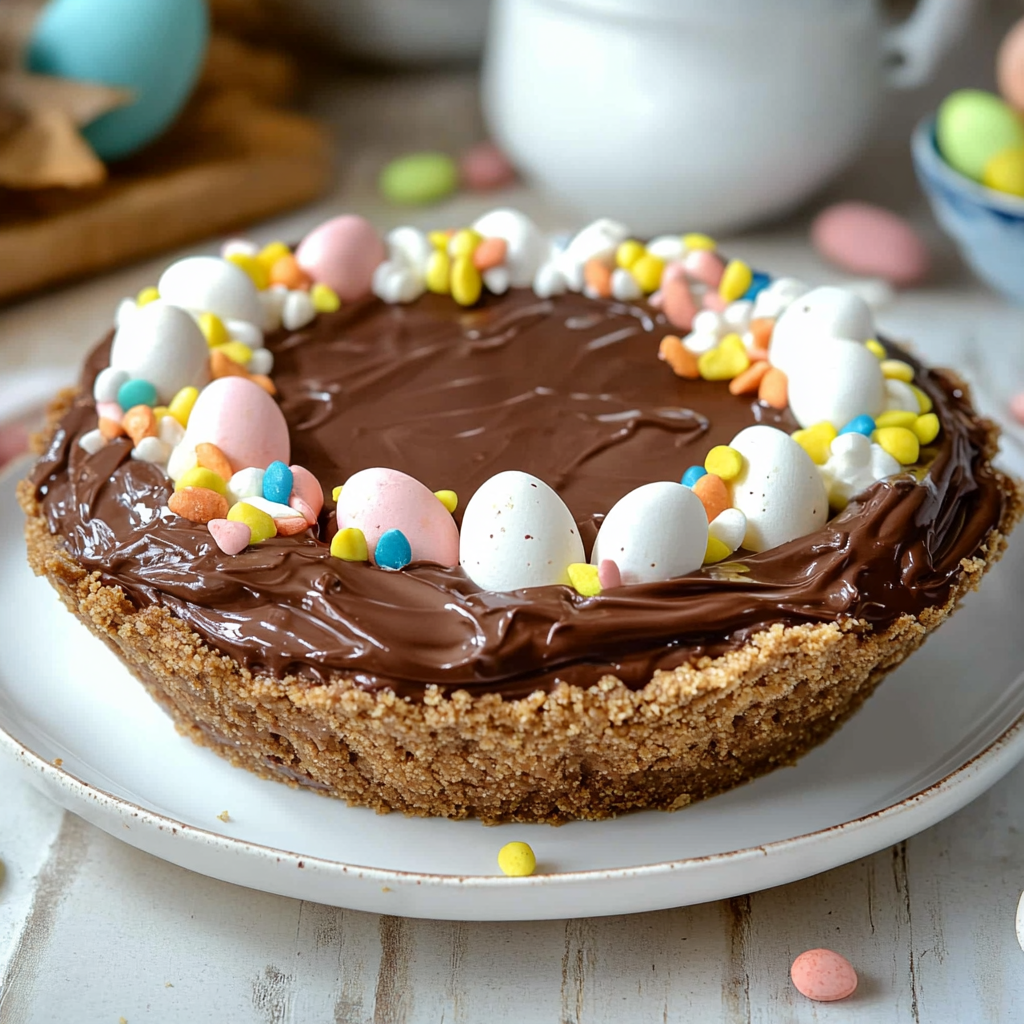
Feel free to experiment with toppings like whipped cream, fresh berries, or crushed nuts to elevate your No-Bake Easter Chocolate Pie. Customize it to suit your taste or occasion.
Storing & Reheating
Store leftovers in the refrigerator covered tightly with plastic wrap for up to five days. Enjoy chilled; there’s no need for reheating this luscious pie.
Chef's Helpful Tips
- Always use high-quality chocolate for maximum flavor; it makes a difference
- Allow enough cooling time for your filling before adding it to the crust
- Don’t skip the chilling phase; it ensures perfect slicing of your pie
It was Easter Sunday, and my family couldn’t get enough of my No-Bake Easter Chocolate Pie. Watching their faces light up as they took their first bite was priceless.
FAQ
What type of chocolate works best for this pie?
Use high-quality semisweet or dark chocolate for the richest flavor in your No-Bake Easter Chocolate Pie.
Can I make this pie ahead of time?
Yes. This pie can be made one day in advance, allowing flavors to meld beautifully overnight.
How do I prevent my pie from becoming too soft?
Ensure all ingredients are properly cooled and allow sufficient chilling time before serving your No-Bake Easter Chocolate Pie.
Did You Enjoy Making This Recipe? Please rate this recipe with ⭐⭐⭐⭐⭐ or leave a comment.
📖 Recipe Card
Print
No-Bake Easter Chocolate Pie
- Total Time: 0 hours
- Yield: Serves 8
Description
Indulge in this rich and creamy No-Bake Easter Chocolate Pie, a hassle-free dessert that will have everyone asking for seconds. Perfectly decadent and easy to prepare, it’s a must-try for your holiday celebrations.
Ingredients
- Chocolate cookie crust
- Cream cheese
- Powdered sugar
- Unsweetened cocoa powder
- Whipped topping
- Chocolate shavings or sprinkles for garnish
Instructions
- Press the chocolate cookie mixture into a pie dish, ensuring it's packed tightly.
- In a mixing bowl, beat softened cream cheese with powdered sugar and cocoa powder until smooth.
- Gently fold in whipped topping until fully combined for a fluffy texture.
- Pour the filling into the prepared crust and smooth the top with a spatula.
- Cover with plastic wrap and refrigerate for at least 4 hours or overnight to set.
- Before serving, garnish with chocolate shavings or sprinkles.
- Prep Time: 15 minutes
- Cook Time: None
- Category: Dessert
- Method: No-Bake
- Cuisine: American
Nutrition
- Serving Size: 1 slice (80g)
- Calories: 290
- Sugar: 20g
- Sodium: 150mg
- Fat: 18g
- Saturated Fat: 10g
- Unsaturated Fat: 7g
- Trans Fat: 0g
- Carbohydrates: 30g
- Fiber: 1g
- Protein: 3g
- Cholesterol: 30mg


