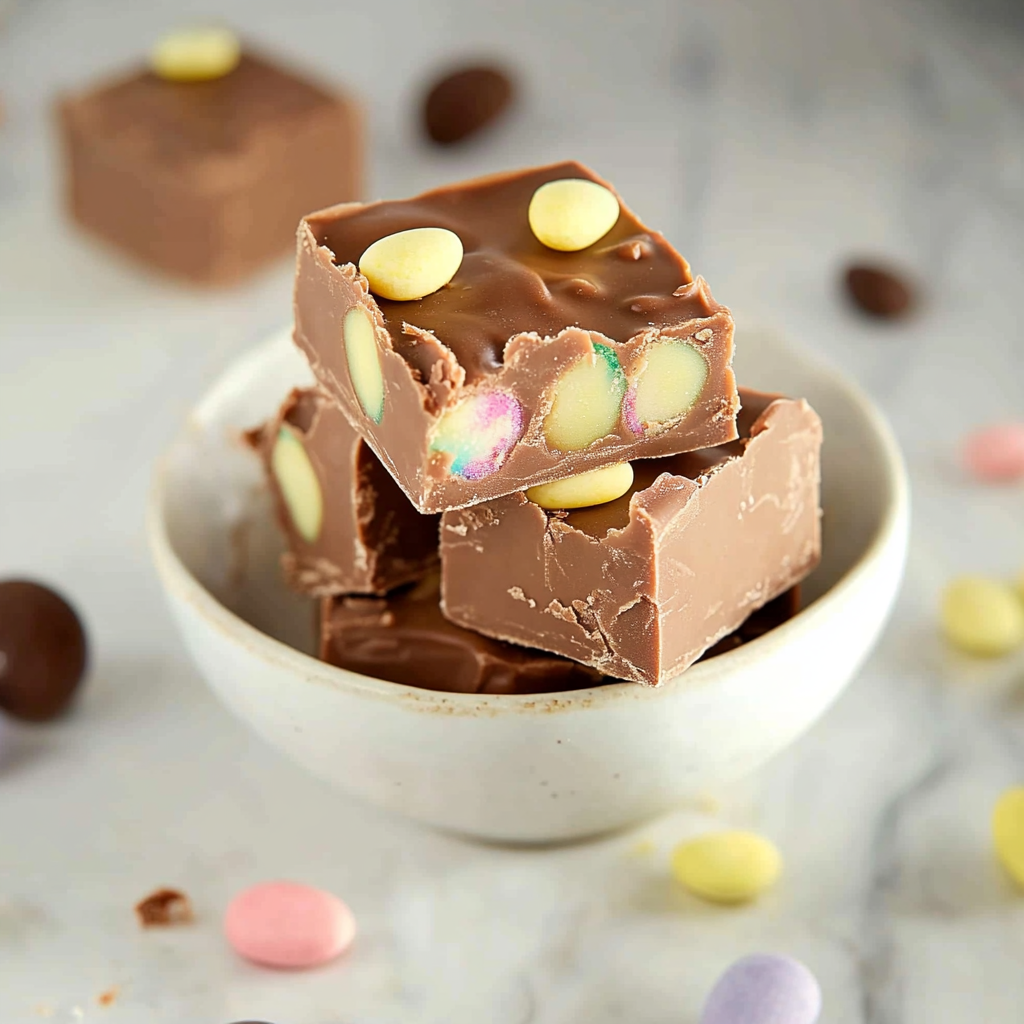
Easter is a time filled with colorful eggs, hopping bunnies, and the delightful aroma of chocolate wafting through the air. This is where our star player enters the scene—Easter Fudge. Imagine biting into a creamy piece of fudge that melts in your mouth like a dream come true while bursting with rich flavors and festive colors. It’s like a hug from your grandma but in dessert form.
Jump to:
- <strong>Essential Ingredients</strong>
- <strong>Let’s Make it Together</strong>
- <strong>Gather Your Supplies</strong>
- <strong>Melt the Chocolate</strong>
- <strong>Mix in Sweetened Condensed Milk</strong>
- <strong>Add Vanilla Extract</strong>
- <strong>Add Color (optional)</strong>
- <strong>Pour into Pan</strong>
- <strong>Chill Until Firm</strong>
- <strong>Slice and Serve</strong>
- <strong>Perfecting the Cooking Process</strong>
- <strong>Add Your Touch</strong>
- <strong>Storing & Reheating</strong>
- <strong>FAQ</strong>
- What type of chocolate is best for Easter Fudge?
- Can I make Easter Fudge ahead of time?
- How do I prevent my fudge from being too soft?
- 📖 Recipe Card
Now let me take you back to an unforgettable Easter brunch at my aunt’s house—where the aroma of freshly baked goodies mingled with laughter and stories. My cousin Sarah had just discovered her hidden talent for making fudge, and trust me; it was a revelation. As we devoured those sweet squares, we vowed never to leave them off our holiday menu again.
Why You'll Love This Recipe
- This delightful Easter Fudge is incredibly easy to whip up in under an hour
- Its rich flavor and creamy texture will leave you craving more
- The vibrant colors make it visually stunning on any dessert table
- Perfect for gifting or indulging during seasonal celebrations
I once took a batch of this fudge to a family gathering, and the compliments were endless—it was gone before I even got a piece.
Essential Ingredients
Here’s what you’ll need to make this delicious dish:
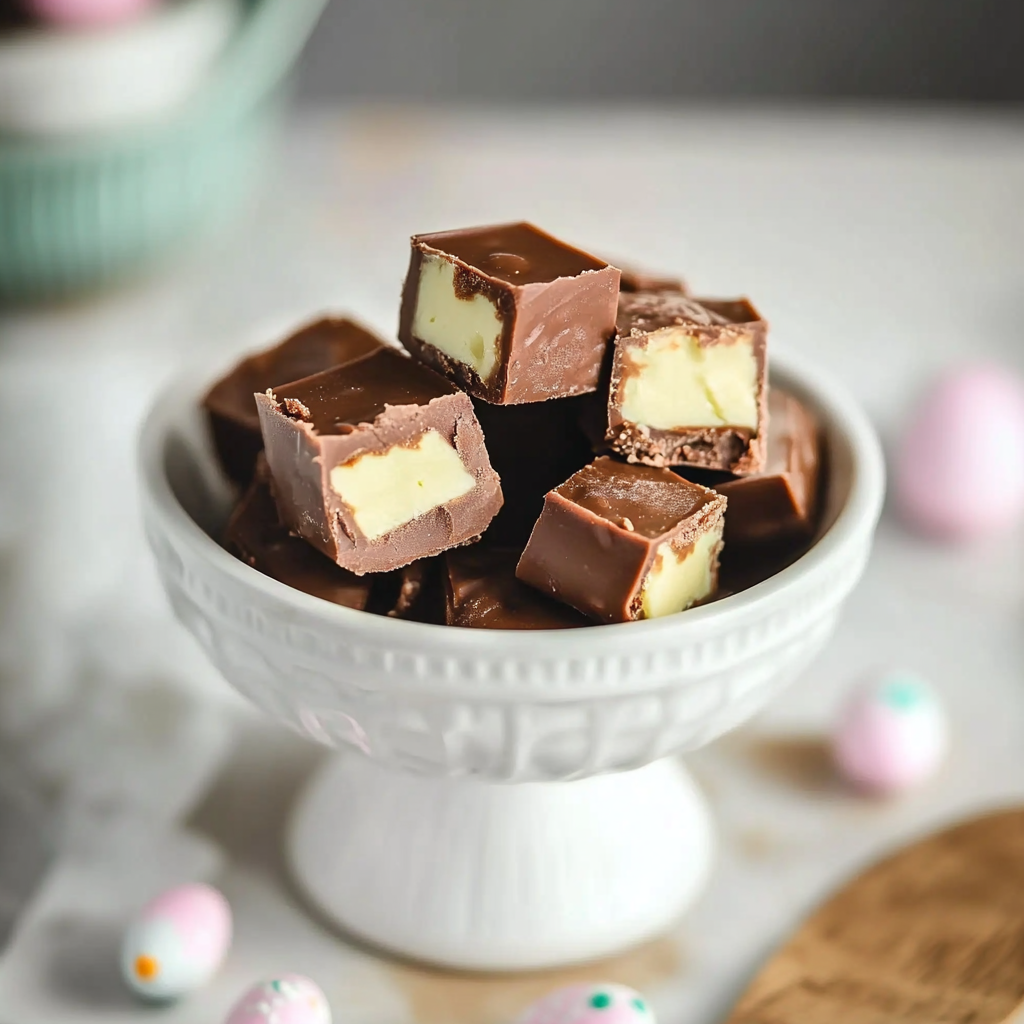
- Sweetened Condensed Milk: The secret ingredient that gives the fudge its rich creaminess; do not substitute with evaporated milk.
- Chocolate Chips: Semi-sweet or dark chocolate works best; melt-in-your-mouth goodness guaranteed.
- Butter: Use unsalted butter for better control over saltiness—trust me on this one.
- Vanilla Extract: A splash adds depth; opt for pure vanilla extract for maximum flavor.
- Food Coloring (optional): Gel food coloring enhances visual appeal; choose pastel shades for an Easter vibe.
- Toppings (optional): Sprinkles or chopped nuts add texture and color—go wild with creativity.
The full ingredients list, including measurements, is provided in the recipe card directly below.
Let’s Make it Together
Gather Your Supplies
Start by gathering all your supplies: a microwave-safe bowl for melting chocolate and a baking pan lined with parchment paper for easy removal.
Melt the Chocolate
In your bowl, combine chocolate chips and butter. Microwave in 30-second intervals until melted and smooth. Stir well between intervals to avoid burning.
Mix in Sweetened Condensed Milk
Once melted, stir in sweetened condensed milk until fully blended. The mixture should be thickening up beautifully already.
Add Vanilla Extract
Add a splash of vanilla extract into the mix; this will amplify those flavors. Stir until everything is combined perfectly.
Add Color (optional)
If you’re feeling festive, now’s the time to add food coloring. A few drops can transform your fudge into an eye-catching treat.
Pour into Pan
Pour the mixture into your prepared baking pan while smoothing out the top using a spatula. You want it even—not like something my toddler tried making.
Chill Until Firm
Refrigerate the fudge for at least two hours or until set firm enough to slice easily. Patience is key here—it’s worth the wait.
Slice and Serve
Remove from the fridge and cut into squares using a sharp knife. Serve fresh or store in an airtight container if there are any leftovers—though I highly doubt it.
Easter Fudge is not just another treat; it’s an experience wrapped in nostalgia and sweetness that brings us all together during cheerful moments. Enjoy every bite this holiday season.
You Must Know
- Easter Fudge is a delightful treat that brings joy and sweetness to any celebration
- It’s creamy, chocolatey, and totally customizable, making it perfect for family gatherings or as a gift
- The vibrant colors and festive vibes make it a must-have during the holiday season
Perfecting the Cooking Process
The best cooking sequence starts with melting your chocolate and butter together, then adding in the sweetened condensed milk before folding in the mix-ins.
Add Your Touch
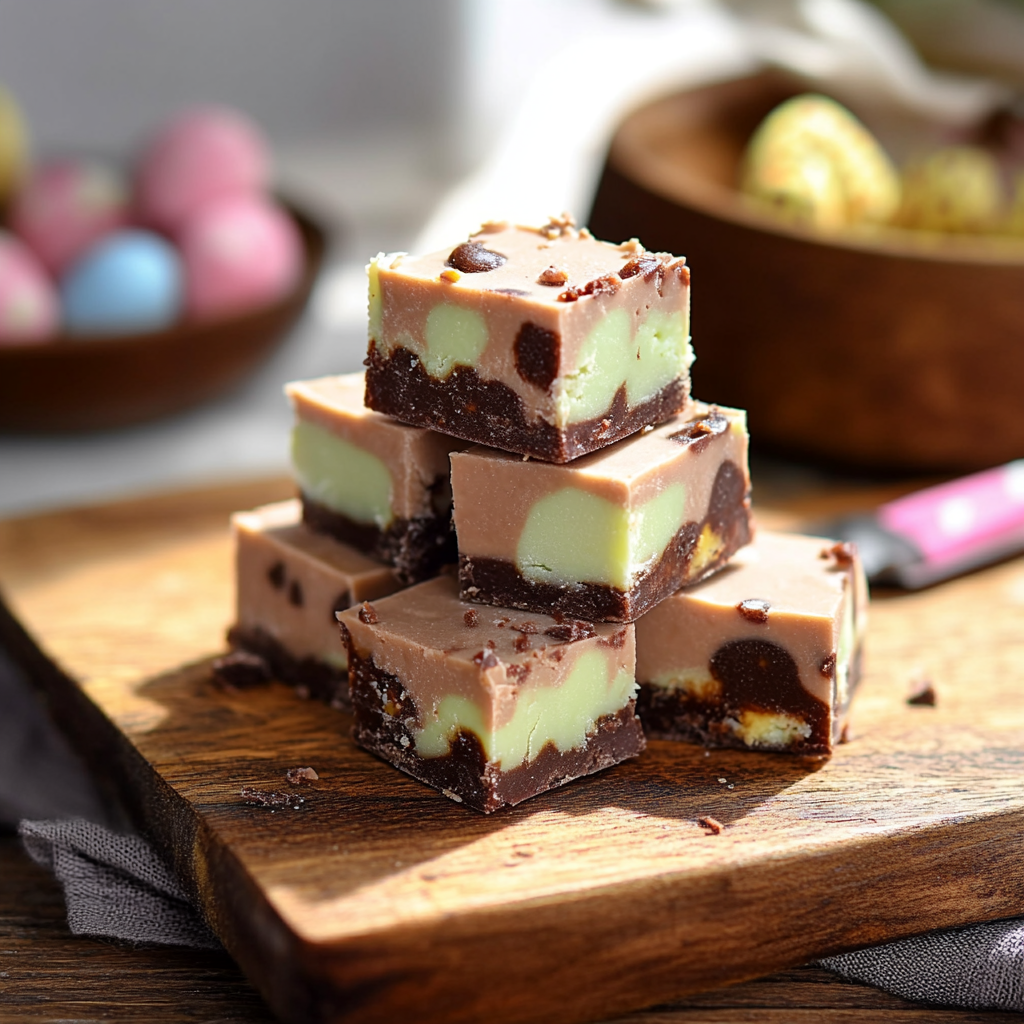
For a personal twist, try swapping out chocolate for white chocolate or adding nuts, marshmallows, or even crushed candy canes for a festive crunch.
Storing & Reheating
Store your Easter Fudge in an airtight container at room temperature for up to two weeks. If you need to reheat, use a microwave in short bursts to maintain its creamy texture.
Chef's Helpful Tips
- To achieve a silky smooth texture, ensure your chocolate is finely chopped before melting
- Avoid overheating as it can seize and become grainy
- Experiment with different toppings like sprinkles for extra fun
Sharing this recipe always brings back memories of my first Easter baking session, where I accidentally spilled half the sprinkles everywhere; laughter ensued as we cleaned up together.

FAQ
What type of chocolate is best for Easter Fudge?
Use high-quality semi-sweet or dark chocolate for the richest flavor.
Can I make Easter Fudge ahead of time?
Yes, you can prepare it up to two weeks in advance and store it properly.
How do I prevent my fudge from being too soft?
Make sure to properly measure your ingredients and let it cool completely before cutting.
Did You Enjoy Making This Recipe? Please rate this recipe with ⭐⭐⭐⭐⭐ or leave a comment.
📖 Recipe Card
Print
Easter Fudge
- Total Time: 2 hours 15 minutes
- Yield: About 16 servings 1x
Description
Easter Fudge is a creamy, colorful delight that adds sweetness to your festive celebrations. This simple recipe is perfect for sharing with family and friends.
Ingredients
- 1 can (14 oz) sweetened condensed milk
- 2 cups semi-sweet or dark chocolate chips
- 4 tablespoons unsalted butter
- 1 teaspoon pure vanilla extract
- Gel food coloring (optional)
- Sprinkles or chopped nuts (optional)
Instructions
- Gather your supplies: a microwave-safe bowl and a baking pan lined with parchment paper.
- In the bowl, combine chocolate chips and butter. Microwave in 30-second intervals, stirring between until melted and smooth.
- Stir in sweetened condensed milk until fully blended.
- Add vanilla extract and mix well. If desired, incorporate food coloring for a festive touch.
- Pour the mixture into the prepared baking pan and smooth the top with a spatula.
- Refrigerate for at least 2 hours or until firm enough to slice.
- Cut into squares and serve or store in an airtight container.
- Prep Time: 15 minutes
- Cook Time: 2 hours
- Category: Dessert
- Method: Baking
- Cuisine: American
Nutrition
- Serving Size: 1 piece (30g)
- Calories: 130
- Sugar: 12g
- Sodium: 40mg
- Fat: 7g
- Saturated Fat: 4g
- Unsaturated Fat: 2g
- Trans Fat: 0g
- Carbohydrates: 15g
- Fiber: 0g
- Protein: 1g
- Cholesterol: 10mg


